


DIY Guide: Installing Composite Decking Tile Kits in 7 Easy Steps
Learn how to install composite decking tile kits yourself with this step-by-step guide. Perfect for DIY enthusiasts looking to enhance their outdoor living space.
DIY Guide: Installing Composite Decking Tile Kits in 7 Easy Steps
Introduction
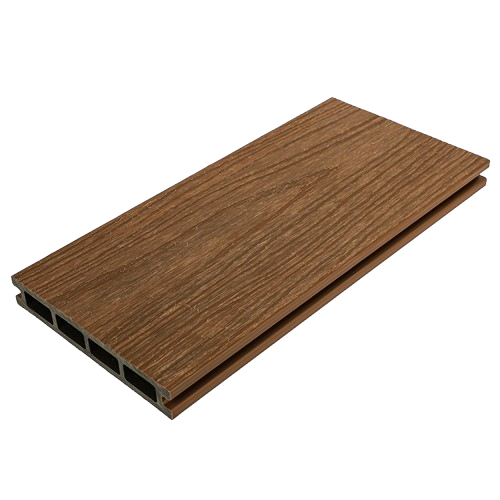
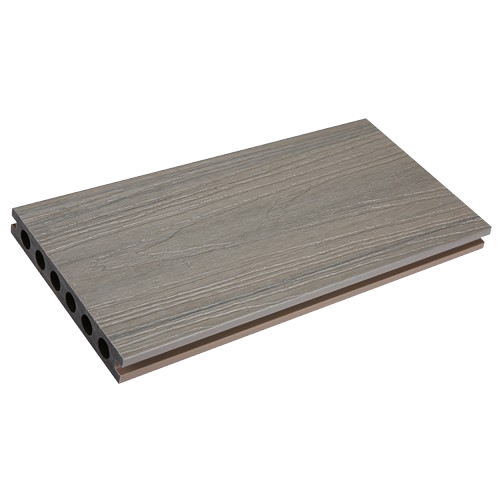
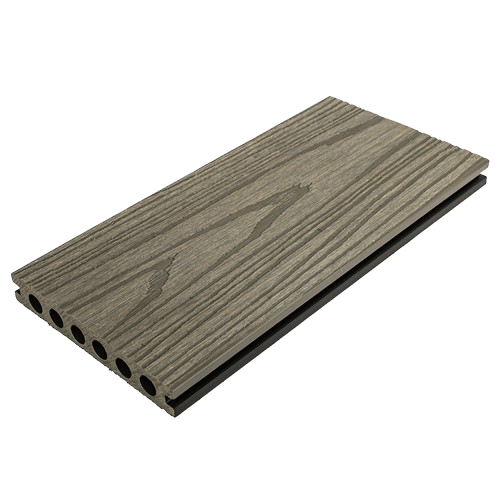
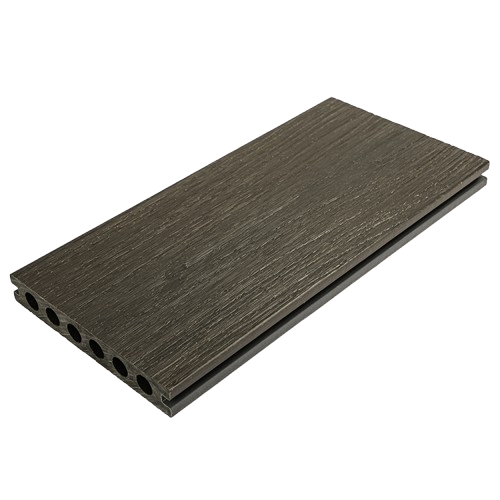
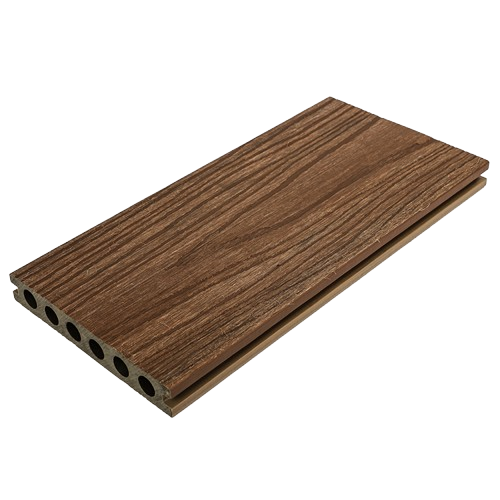
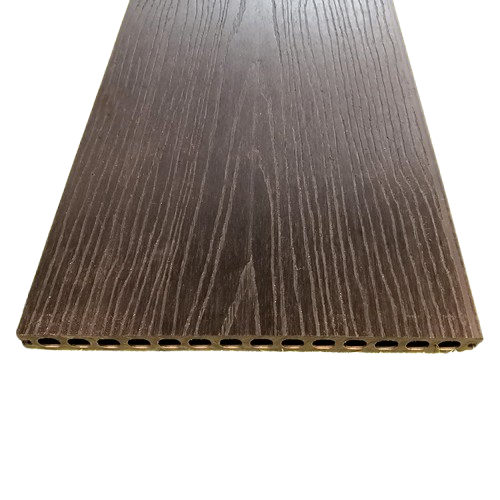
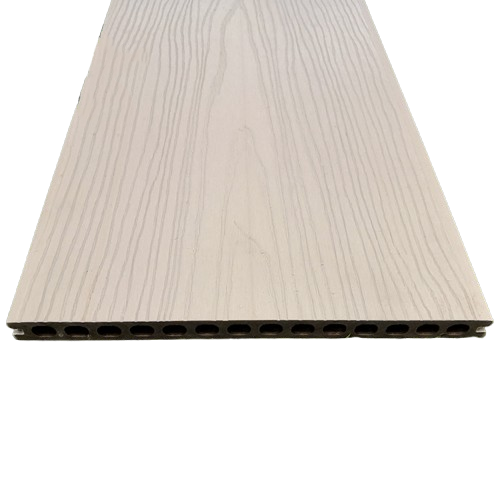
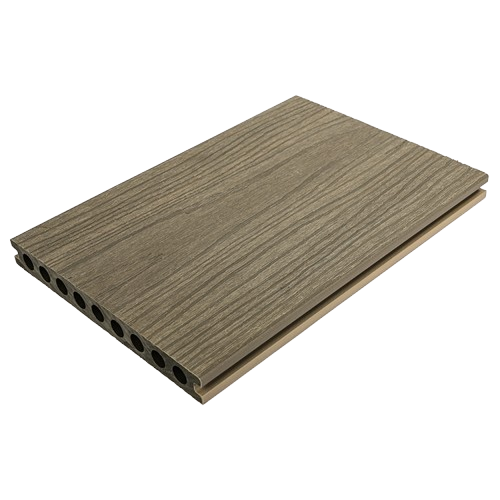
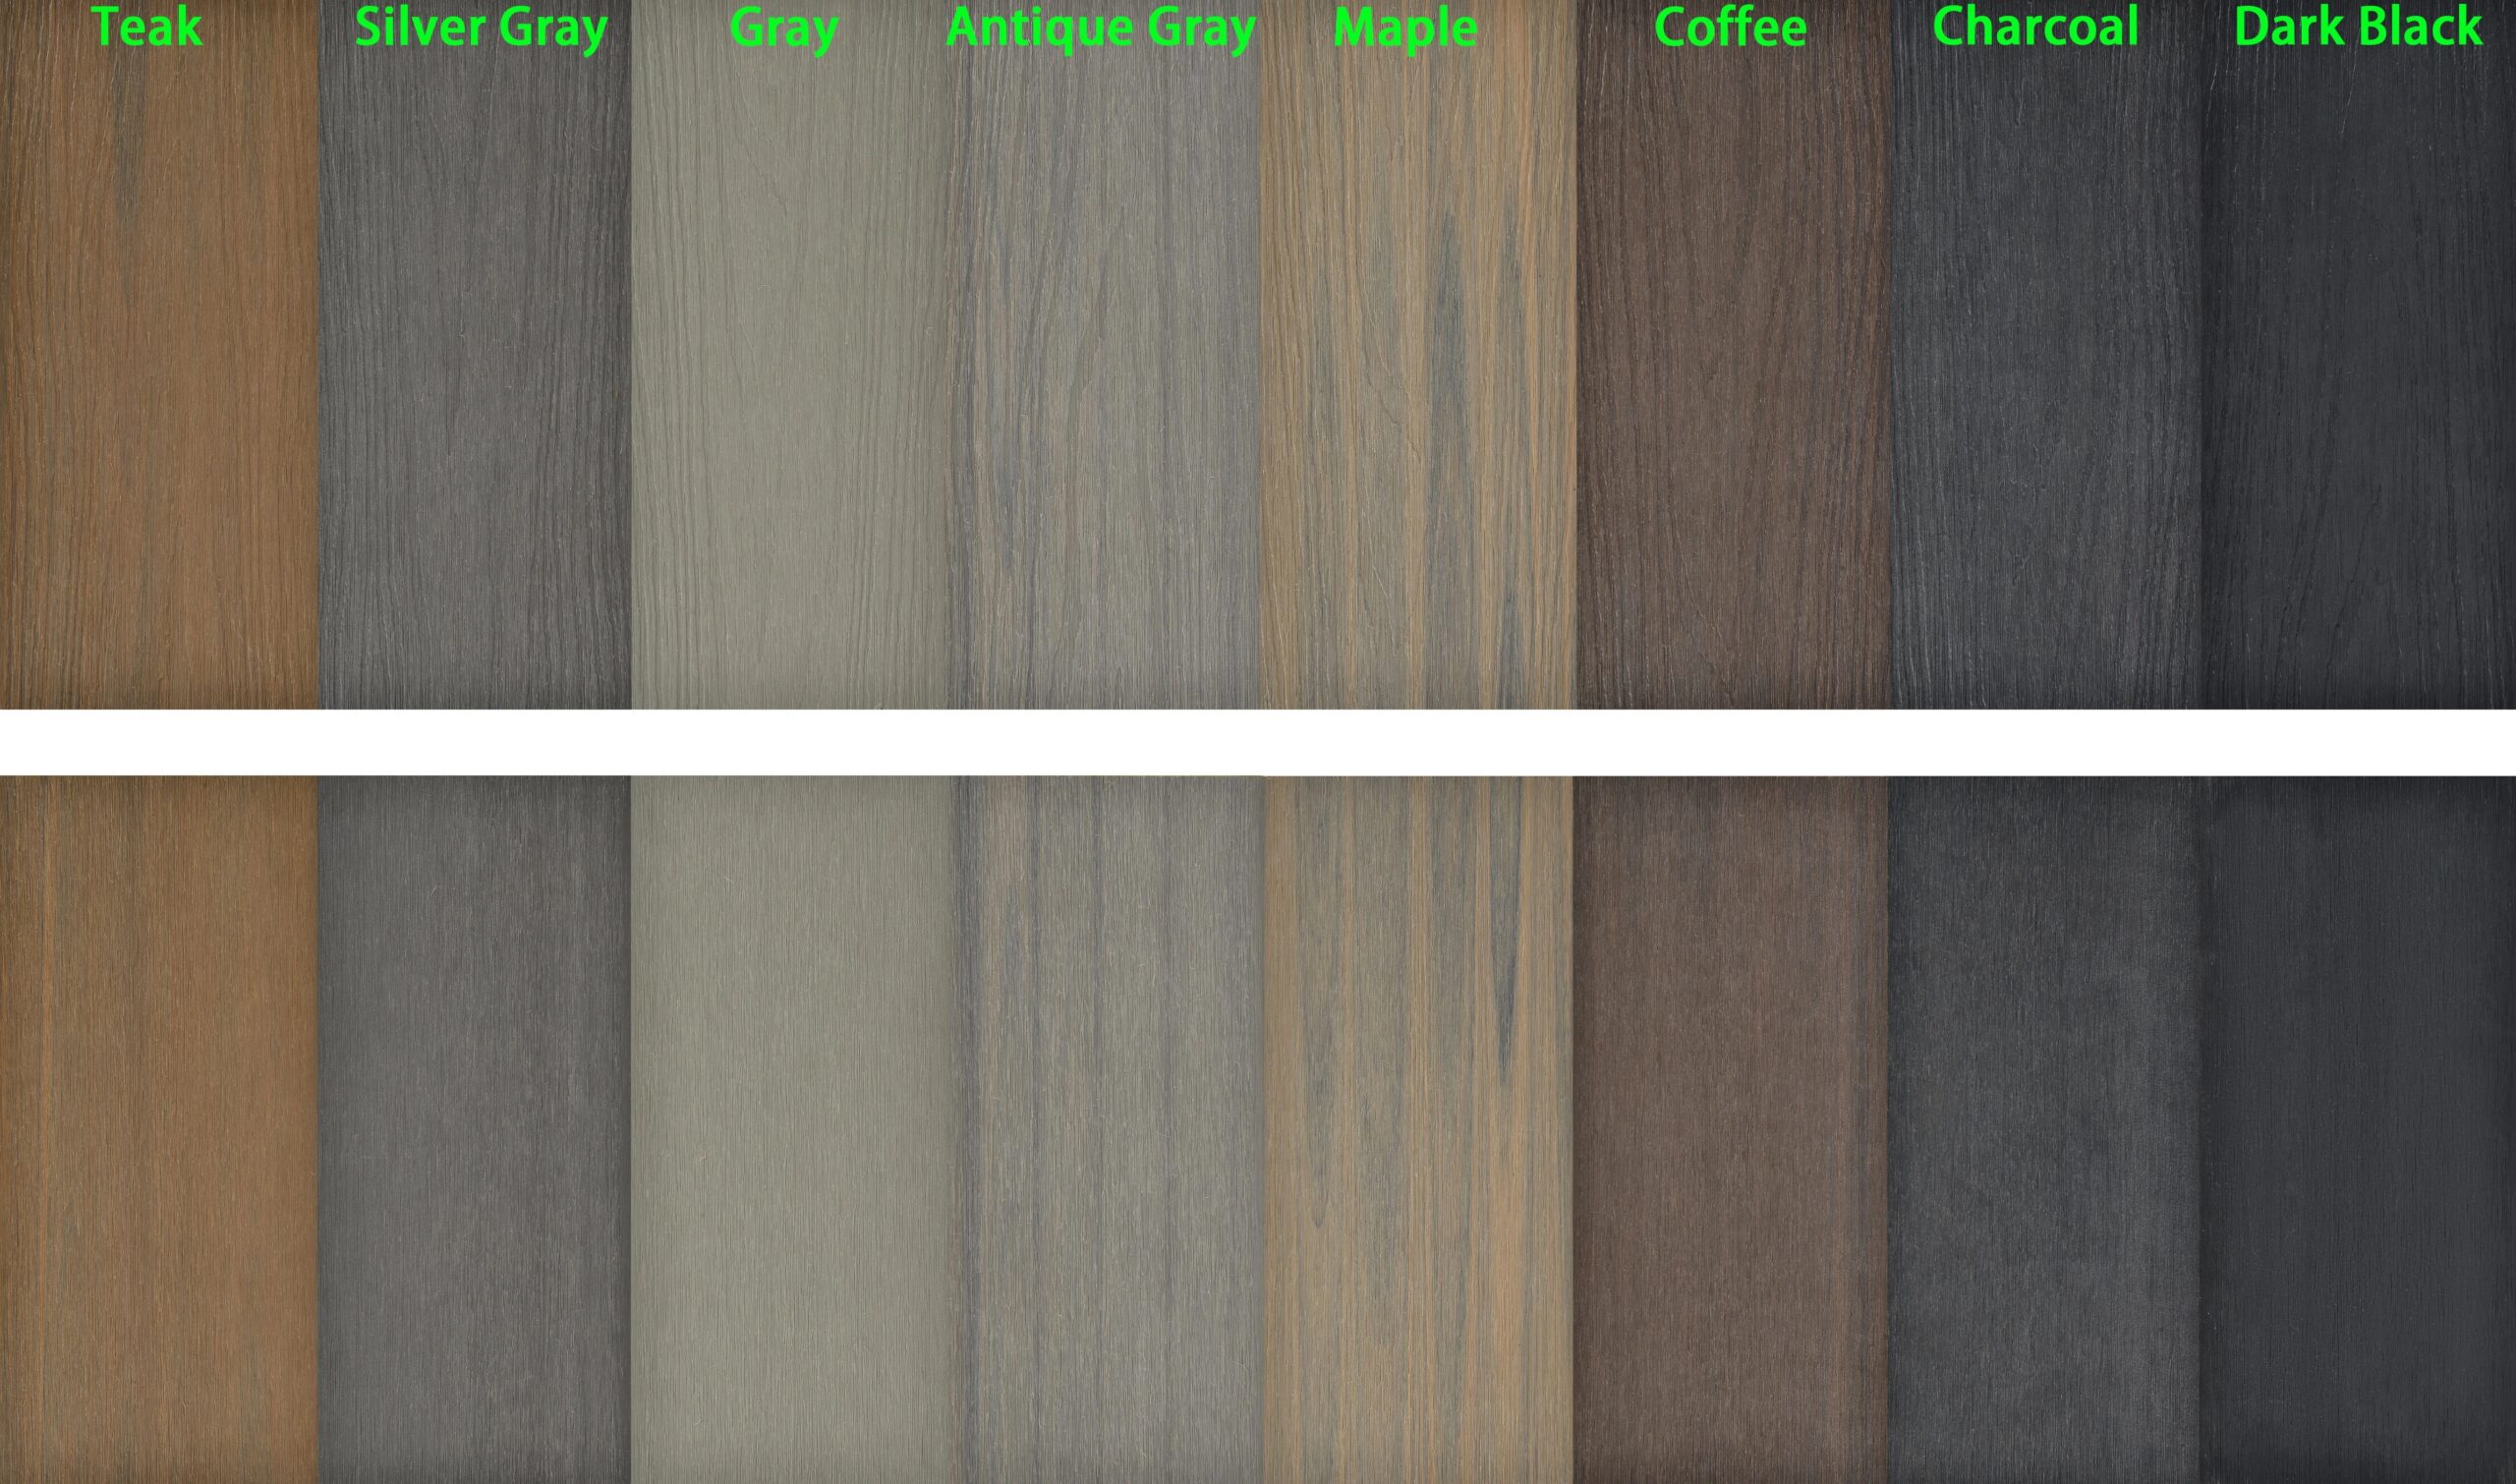
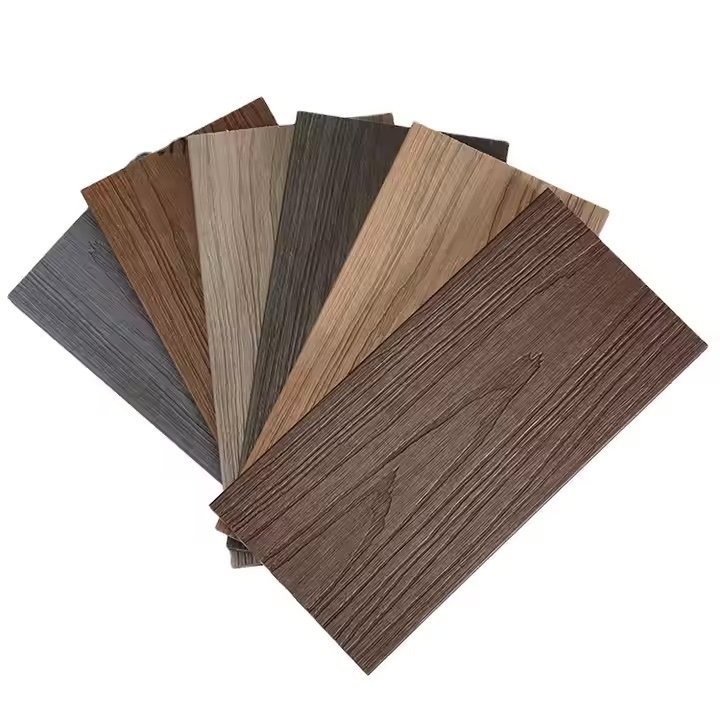
Composite decking tile kits offer an excellent solution for homeowners looking to revamp their outdoor spaces without the hassle of traditional deck building. These kits are made from durable materials that mimic the look of natural wood but require less maintenance. In this guide, we will walk you through the process of installing composite decking tile kits in seven easy steps, ensuring your project is both successful and enjoyable.
Tools You Will Need
To successfully install composite decking tiles, you’ll need a few basic tools at hand. These include a circular saw or miter saw, a drill with various bits, a tape measure, a level, a utility knife, and a screwdriver. Additionally, having safety gear such as gloves and eye protection is highly recommended.
Preparation Steps
Before you start laying down your composite tiles, it’s crucial to prepare the surface. This involves clearing the area of any debris and ensuring the ground is level. If your current deck needs repair, now is the time to address those issues. Use a level to check the flatness of the surface and make adjustments as necessary. Proper preparation ensures a smooth installation process and a long-lasting result.
Installing Composite Decking Tiles
Step 1: Measure and Plan
Begin by measuring the area where you plan to install the composite tiles. Make a detailed sketch or layout plan, noting any obstacles or irregularities in the space. This step helps ensure you have enough material and cuts everything correctly.
Step 2: Lay Out the Tiles
Once you’ve prepared your surface, lay out the composite tiles according to your plan. Start from one corner and work your way across, leaving small gaps between each tile for expansion. Use a chalk line to keep rows straight and aligned.
Step 3: Cut the Tiles
Using your saw, cut the tiles to fit around edges or obstacles. Be precise with measurements to avoid wasting material. Always wear protective gear when cutting composite materials to prevent injury.
Step 4: Secure the First Row
Secure the first row of tiles using screws or clips provided in your kit. Ensure they are tightly fastened to provide a stable base for the rest of the installation.
Step 5: Continue Laying Rows
Follow the same procedure to continue laying subsequent rows, ensuring each row is level and properly aligned with the previous one. Use spacers if needed to maintain consistent spacing.
Step 6: Trim Around Obstacles
Cut tiles to fit around any obstacles like posts or railings. This requires careful measurement and precision cutting to achieve a neat finish.
Step 7: Final Touches
After all tiles are laid, inspect the entire deck for any loose or improperly installed tiles. Tighten any loose screws and clean up any debris left over from the installation process.
Troubleshooting Tips
Common issues during installation can range from uneven surfaces to incorrectly sized cuts. To address these, always double-check measurements before making cuts, and use shims or sandpaper to correct minor unevenness. For more significant problems, consulting the manufacturer’s instructions or seeking professional advice might be necessary.
Conclusion
Installing composite decking tile kits is a rewarding DIY project that enhances your outdoor living space. With the right tools, preparation, and attention to detail, you can achieve professional results. Remember, patience and precision are key to a successful installation. Happy building!
Reference
How to Install Composite Decking, The Home Depot.
Baoding Plastroy WPC Products

Why Choose Plastory?
Baoding Plastory New Materials Co., Ltd. is a manufacturer of decorative materials with over 9 years of experience and 56 separate production lines.
Currently, our annual production exceeds 30,000 tons, with products exported to more than 50 countries worldwide.
Plastory is the drafting unit of the WPC National Standards and has obtained certifications such as REACH, ASTM, CE, and FSC. Plastory is dedicated to maintaining consistent quality, focusing on details, and prioritizing customer satisfaction.
Our factory is located in Baoding, Hebei Province, China, with a prime location and convenient transportation access. Baoding is approximately a 1.5-hour drive from Beijing Capital International Airport and just 2 hours away from Tianjin Port, making it easy for global clients to visit and facilitating efficient shipping of goods. Our facility spans a large area, equipped with advanced production equipment and modern testing facilities to ensure that every batch of products meets the highest quality standards.
We warmly welcome clients from around the world to visit our factory, where you can see our production processes firsthand and experience our product quality. Please feel free to reach out to us—we are committed to providing you with the best products and services.
Kindly get in touch with us to request a product catalogue.
Reviews
There are no reviews yet.