


How to Maintain Composite Fences
April 14, 2024
Get ready to welcome summer with backyard party on your deck
May 11, 2024
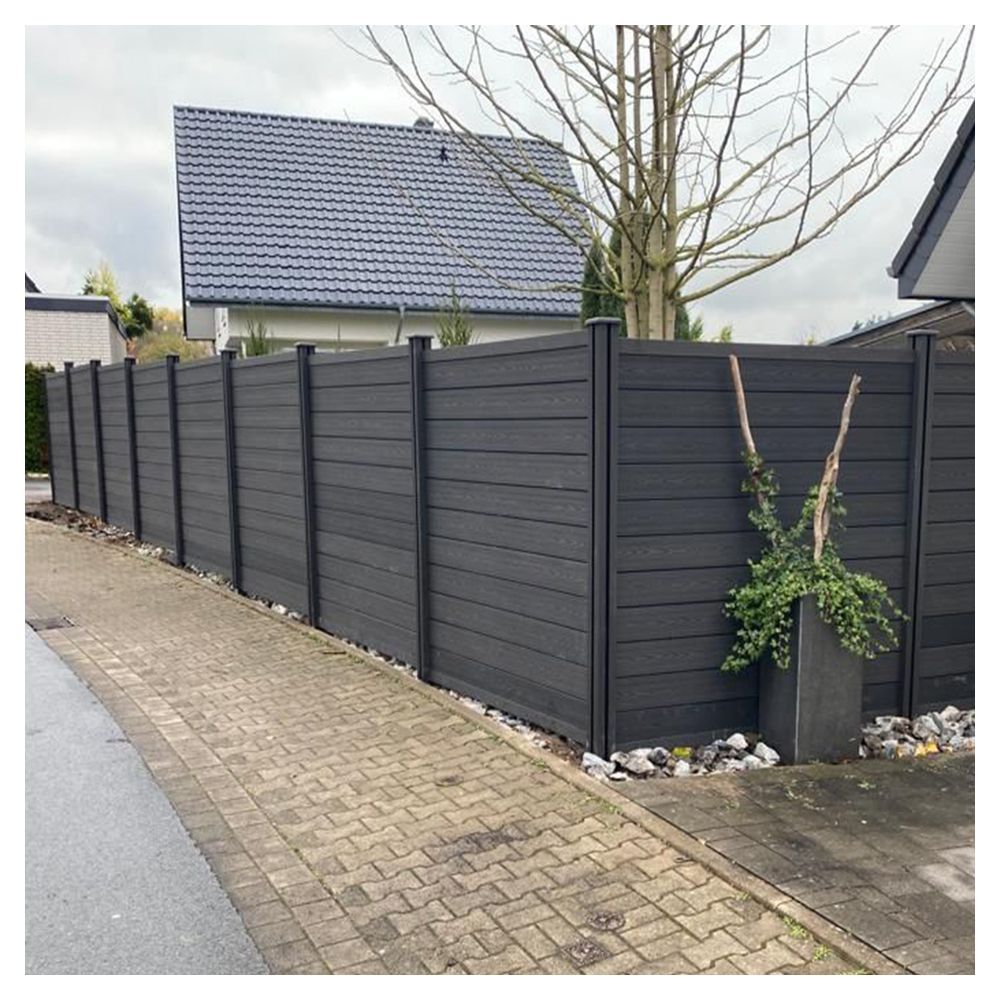
Let me tell you why my neighbors keep asking about my “magic fence” – it’s actually WPC fencing! This wood-plastic composite material is like the superhero of outdoor solutions, blending recycled wood fibers with plastic polymers to create something that laughs in the face of rotten timber and peeling paint. I’ve had mine through three brutal winters and it still looks fresh from the factory!

What really sold me? The zero-maintenance promise. Forget weekend staining marathons – a quick hose-down keeps it looking sharp. The UV-resistant coating (available at plastory.com) acts like sunscreen for your fence, preventing that faded look we all dread. And here’s the kicker: it’s termite-proof! I actually caught a carpenter ant trying to nibble mine last summer – the poor thing gave up and moved to my neighbor’s wood fence.

Environmentally conscious? You’ll love this – most manufacturers use 60-70% recycled materials. It’s like giving plastic bags and sawdust a second life as backyard royalty. The color options range from classic cedar tones to modern grays that make your fence look more like a designer feature than a practical necessity. Pro tip: Go slightly darker than you think – the matte finish absorbs light differently than traditional wood.
Now let’s talk about what you’ll actually need to get your hands dirty with WPC fencing installation. From my experience doing backyard makeovers, having the right tools makes all the difference – I learned this the hard way when I tried using kitchen scissors to cut composite panels (spoiler: it didn’t work). You’ll want to grab a decent circular saw or miter saw for clean cuts – those WPC boards can be tougher than regular wood. Don’t forget a power drill with various drill bits; you’ll need it for both pilot holes and driving in those heavy-duty stainless steel screws. Pro tip: spring for exterior-grade fasteners to prevent rust stains down the line.
When I helped my neighbor install their WPC privacy fence last summer, we used these amazing self-tapping screws that saved us hours of pre-drilling. You’ll also need a good level – nothing’s worse than a slanted fence panel staring at you every morning. For materials, obviously get your WPC fence panels and matching posts (measure twice, order once!), but don’t skimp on the concrete mix for setting posts. Oh and grab some plastic post caps – they’re like little helmets that keep water from pooling in your posts.

Here’s a mistake I see beginners make: using regular wood screws instead of corrosion-resistant ones. Trust me, you don’t want rusty streaks ruining your beautiful fence after the first rainy season. And while we’re talking hardware, get some decent brackets too – those panels need proper support. Last thing: wear gloves! Those composite edges can be surprisingly sharp when cut. Now who’s ready to build some fencing?
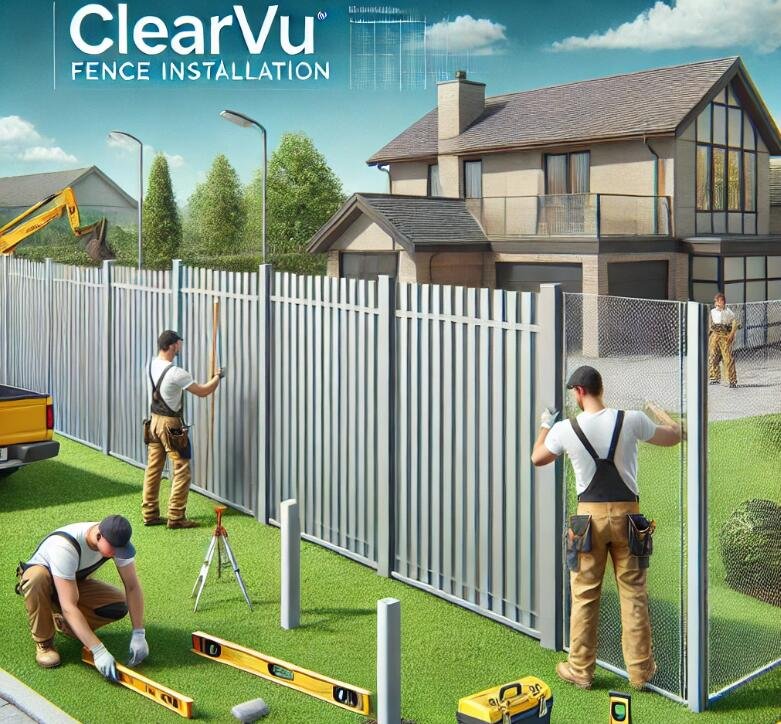
Alright, let’s get our hands dirty with the actual installation process! From my experience helping neighbors with their backyard projects, proper preparation makes all the difference. Start by clearing the work area like you’re preparing a canvas for painting – remove rocks, roots, and any debris that might interfere with your fence line. I always recommend using stakes and string to map out your layout, which helps visualize the final result before committing to permanent positions.

When setting posts, here’s a trick I learned the hard way: dig holes about 1/3 the length of your post plus 6\” for gravel. That extra drainage space prevents water accumulation – trust me, you don’t want soggy posts! Use a level religiously as you set each post in concrete, checking from multiple angles. Ever tried the \”knock test\”? Give the post a firm tap after setting – a hollow sound means you need more concrete packing.
Attaching panels feels like putting together giant puzzle pieces. Start at one end and work systematically, leaving about 1/4\” gap between panels for expansion. Pro tip: pre-drill your screw holes to prevent splitting the composite material. You’ll want to use stainless steel screws rather than nails – they hold better in WPC’s unique texture. If you hit uneven ground (and you probably will), don’t panic! Adjust post heights gradually rather than forcing panels to bend.
Here’s where many DIYers slip up: forgetting to check alignment every 3-4 panels. Take a step back frequently to ensure your fence isn’t developing a \”drunk walk\” effect. For gates, allow slightly more clearance than you think necessary – WPC expands more than traditional wood in direct sunlight. Remember that time I helped install a fence that ended up looking like a rollercoaster? We learned to use laser levels the next time!
Let me share some hard-earned wisdom about installing WPC fencing – the kind of tips that’ll save you from those ‘why didn’t someone tell me?’ moments. Getting those posts straight isn’t just about eyeballing it. I always keep a 4-foot level handy and check alignment every third panel. Here’s a pro tip: mark your post locations with chalk lines before digging – it’s like having GPS for your fence line!
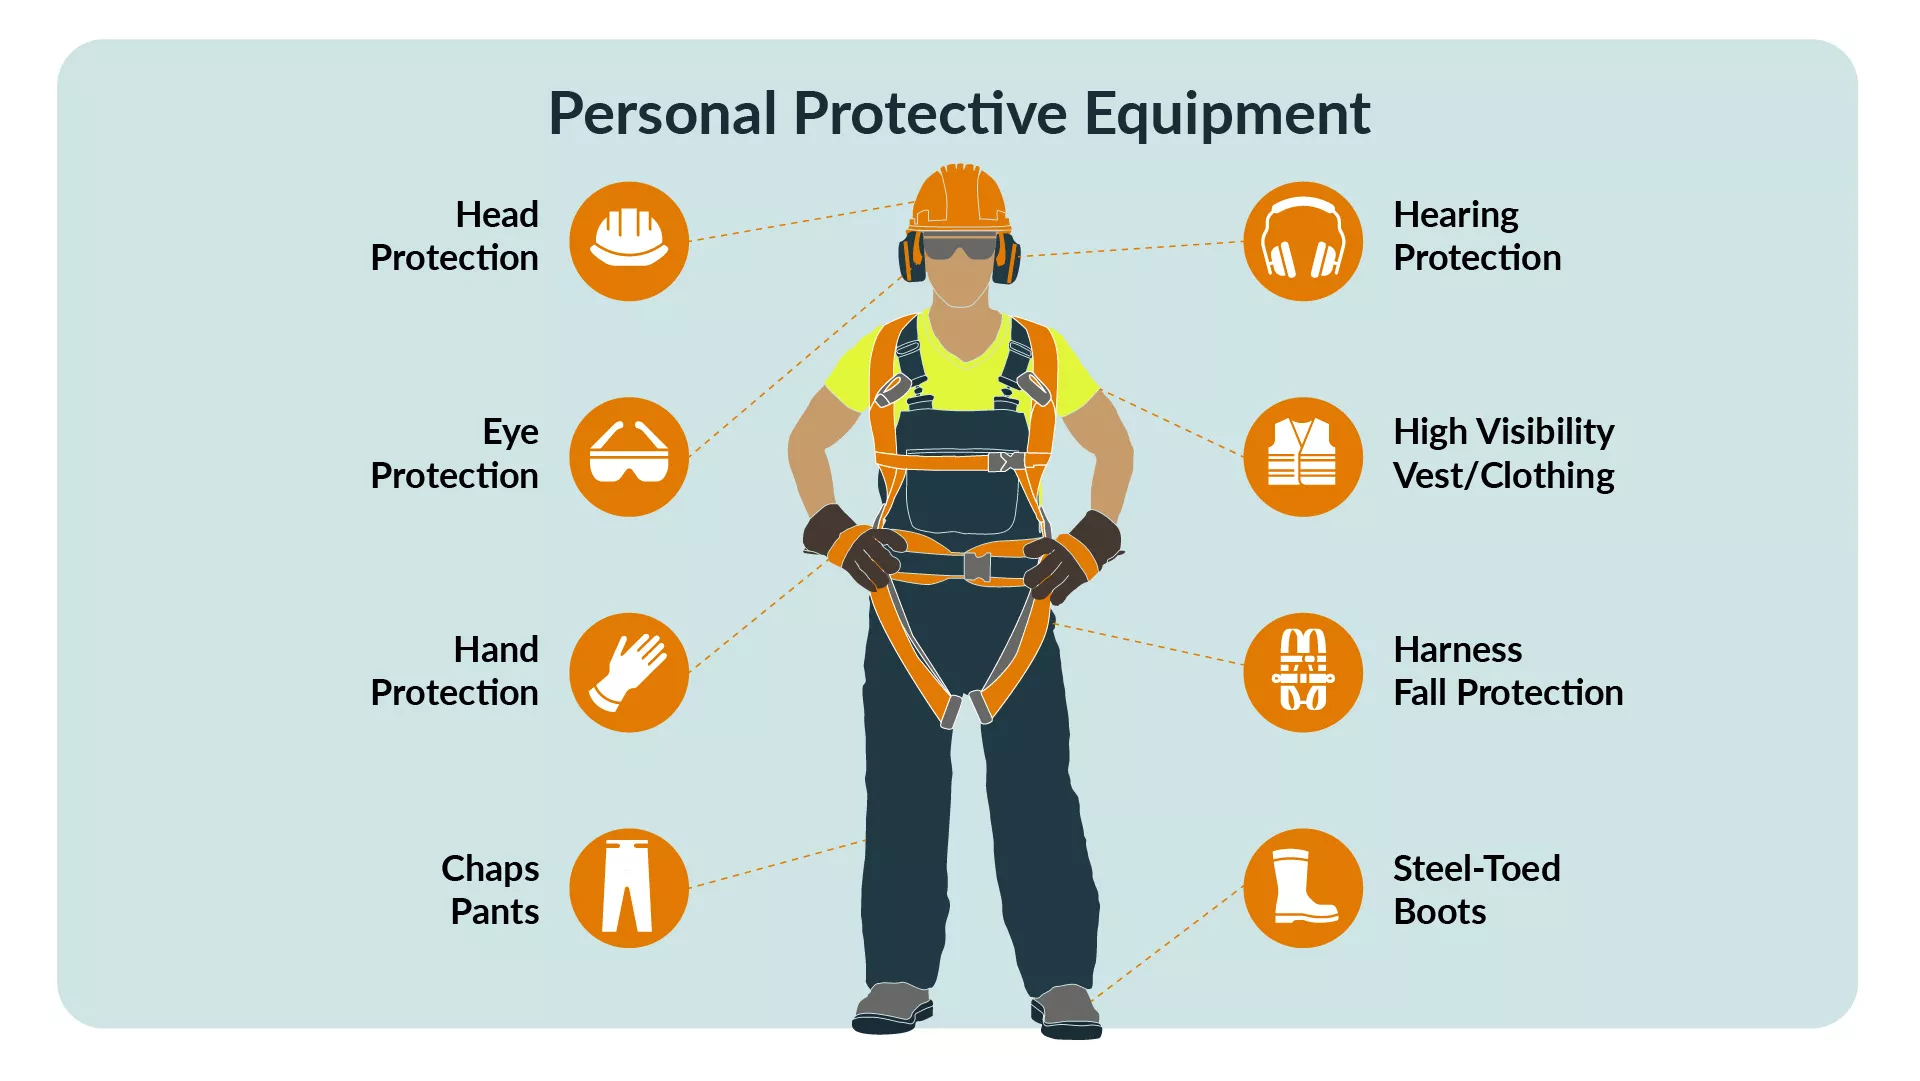
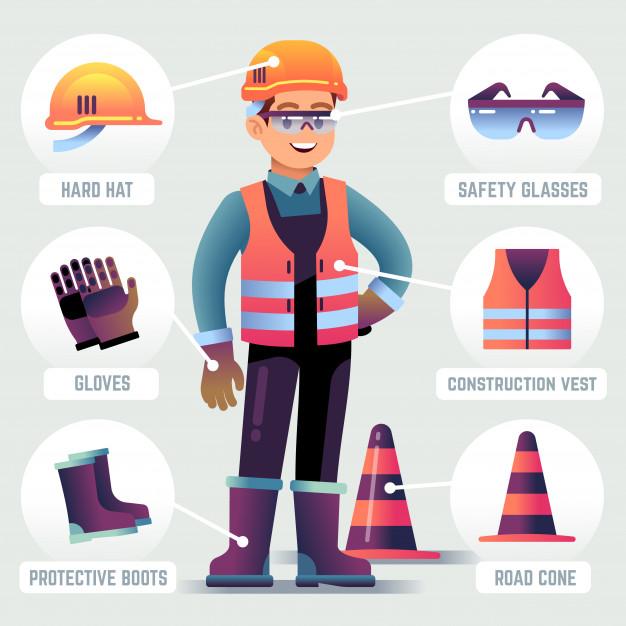
Now about safety – and I can’t stress this enough – those composite materials might look harmless, but they’ll bite if you’re careless. My toolkit always includes cut-resistant gloves (learned that the hard way), safety goggles that actually stay put, and proper knee pads for all that ground work. Oh, and that dust from cutting? Nasty stuff. A basic particulate mask makes all the difference.
Weather plays tricks too! If you’re installing in summer, leave about 6mm gap between panels – that expansion is no joke. Last July I skipped this step and ended up with wavy panels that looked like ocean waves by August. For winter installations, warm up the mounting clips in your pocket before snapping them in – makes the job 10x easier.
Here’s something most tutorials don’t mention: orientation matters. Those wood-grain textures should all flow the same direction unless you want a zebra-stripe effect. And when securing panels, alternate your screw patterns like you’re stitching the pieces together – creates way better stability than straight-line fastening.
One last golden rule: test every fifth panel with a rubber mallet after installation. That satisfying ‘thunk’ tells you it’s seated properly. Remember, WPC fencing is lighter than traditional wood (about a third less weight), but that doesn’t mean you can skimp on post depth. My rule? Bury 30% of the post height minimum. Ever tried fixing crooked panels after the concrete sets? Yeah…don’t be that person.
And there you have it – your complete roadmap to WPC fencing installation! From my experience working with composite materials, the real magic happens during those final checks. Give those panels one last wipe with a soft cloth (you‒019d be surprised how sawdust can linger), and step back to admire your handiwork. Pro tip: mark your calendar for a quick maintenance check in about six months – just tighten any screws that might have worked loose with seasonal changes.
Remember what we discussed about expansion gaps? I once helped a neighbor who skipped this step – come summer, his beautiful fence started resembling a rollercoaster! Stick to the 1/4″ spacing rule we covered earlier, and you’ll avoid such drama. For ongoing care, a simple soapy water solution works wonders – save the pressure washer for your patio stones.
Got questions about matching accessories or curious about color retention? The team at Plastory has been my go-to resource for those “what next?” moments. Whether you’re contemplating adding lighting fixtures or planning a matching gate, remember – your WPC fence isn’t just a boundary, it’s the stylish backbone of your outdoor space!