


Tips to Maintain WPC Decking
October 29, 2022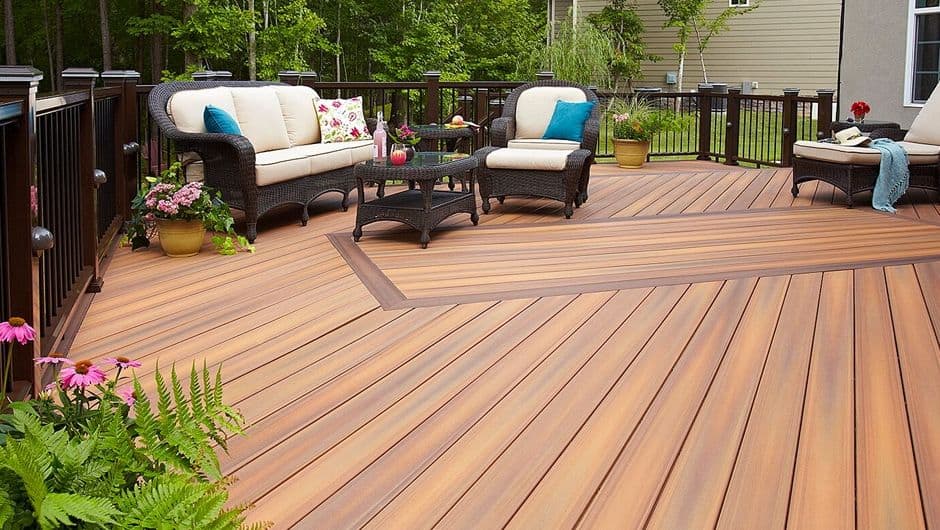
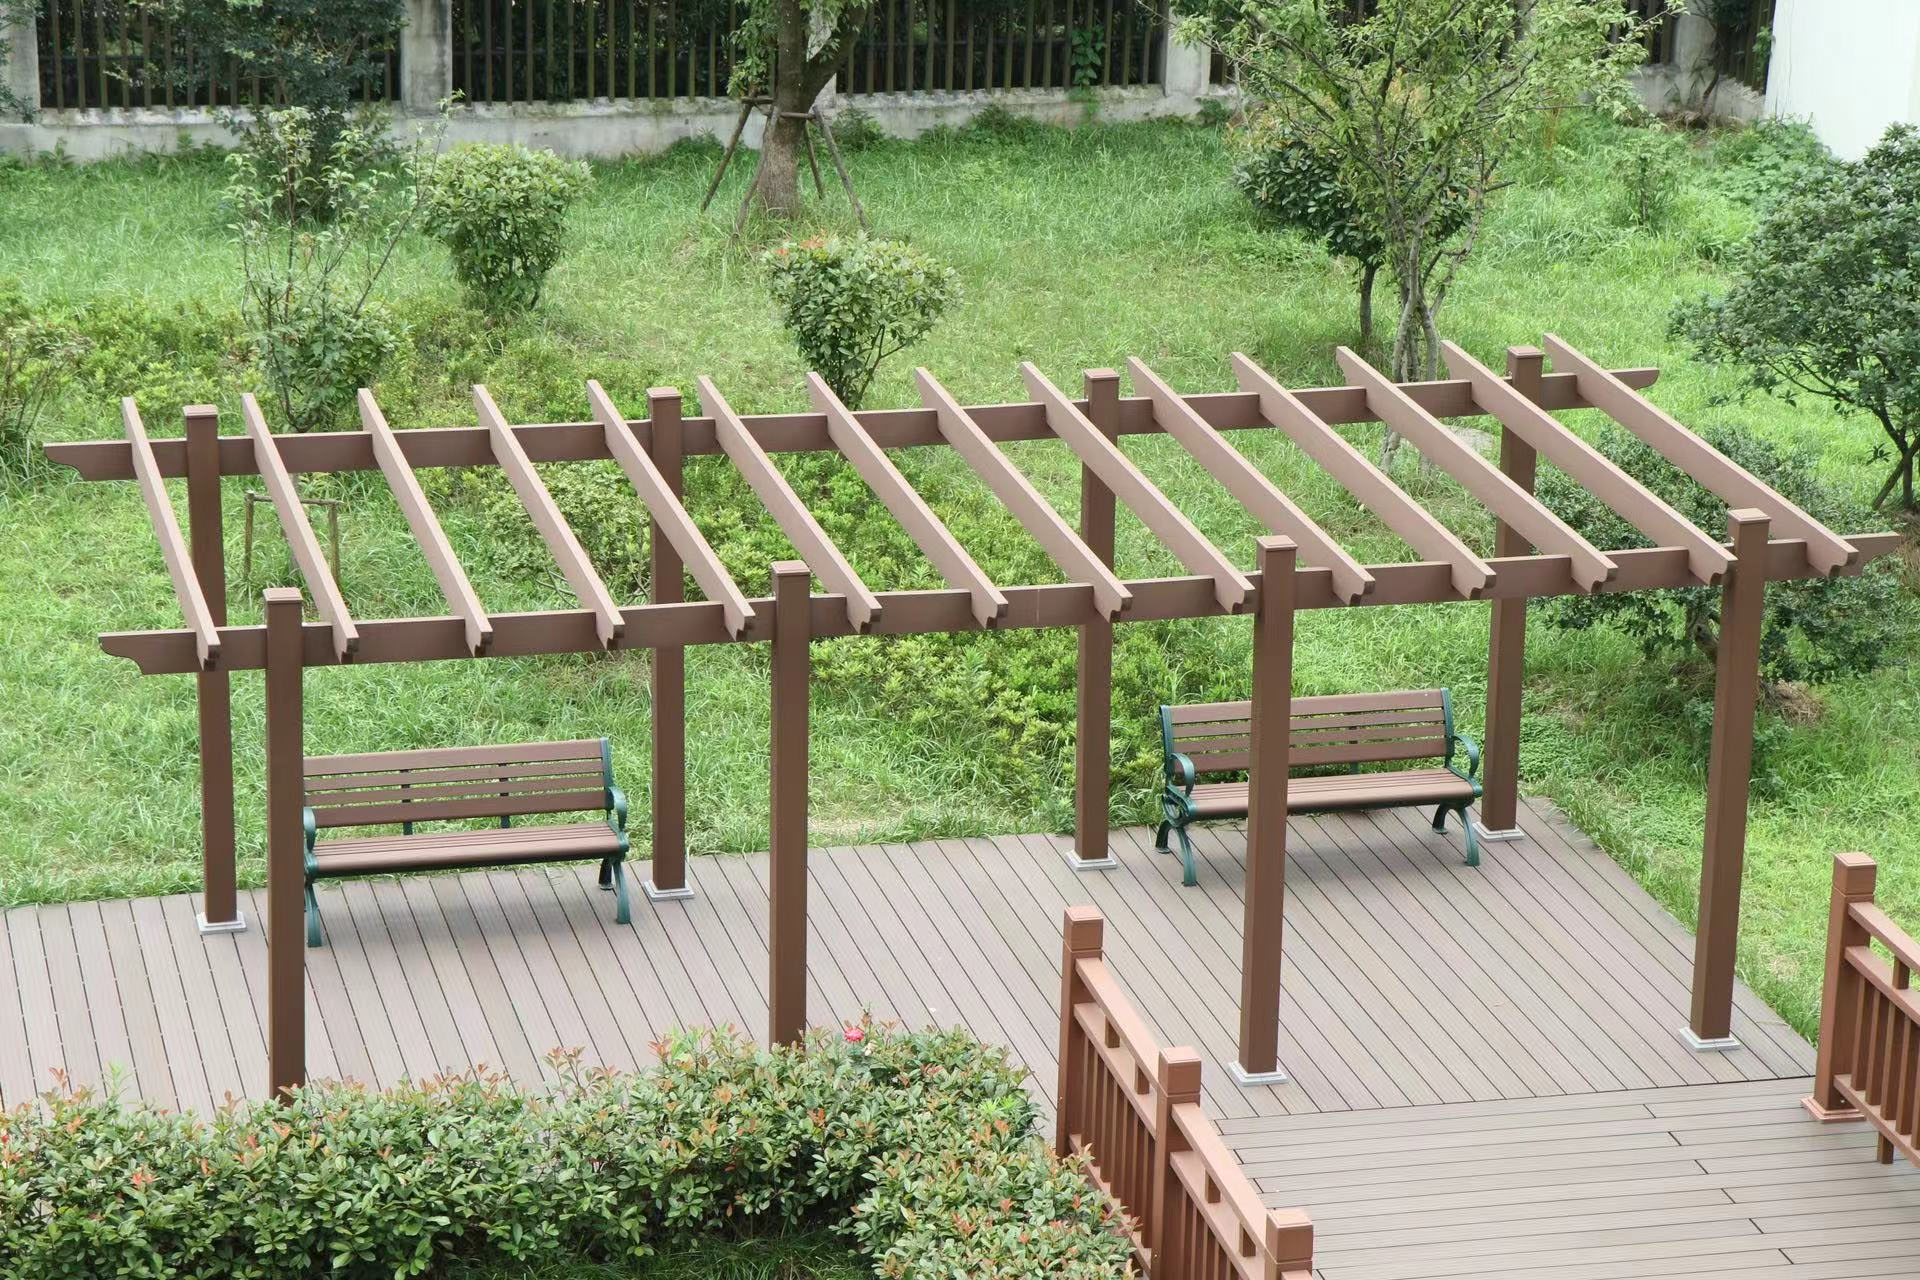
Composite decking canada:an ideal choice for durability, beauty and environmental protection
November 7, 2022
”
Let me tell you why I’ve become such a fan of WPC cladding. Picture this material as the superhero of exterior finishes – it’s this brilliant mix of wood fibers and recycled plastic that somehow manages to outshine traditional timber. The first time I installed it on my porch, I was amazed at how it resisted those pesky termites that used to plague my wood siding. Unlike regular wood that warps if you look at it wrong, this stuff laughs in the face of heavy rain and scorching sun.
What really sold me? That low-maintenance life. Remember spending weekends sanding and repainting wood panels? With WPC cladding from trusted suppliers like Plastory, you’re basically getting the beauty of wood without the headache. I’ve seen installations that still look fresh after 5+ years with just occasional soapy water cleaning. The hidden clip system they use now makes installation so smooth – no more visible screws ruining that clean look!
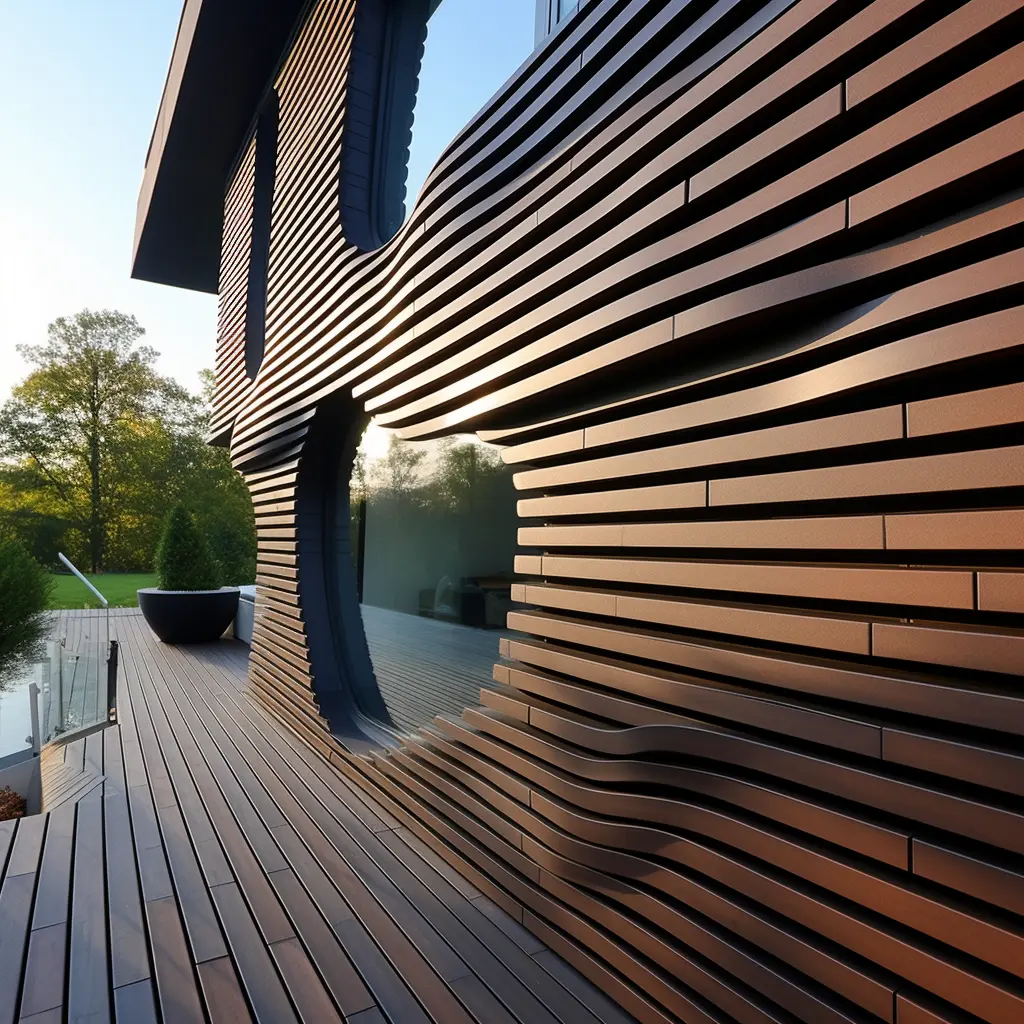
Here’s the kicker – it’s eco-friendly without trying too hard. Using recycled materials means you’re not guilt-tripped into choosing between durability and environmental responsibility. Plus, that UV-resistant coating? Genius! My neighbor’s traditional wood panels faded to gray in two summers while mine kept that rich walnut tone. Pro tip: The textured finishes not only look authentic but help hide minor scratches from my overenthusiastic dog.
Ever tried cutting WPC boards? They’re surprisingly workable with standard tools. I used my trusty circular saw with a fine-tooth blade and got cleaner edges than I ever did with cedar planks. The best part? No special treatments needed. Just measure, cut, click into place – it’s like adult LEGO for your home’s exterior. Next time you’re considering a facade makeover, give this material a proper look. You might just save yourself a bundle on long-term maintenance!
Now that we’ve covered what makes WPC cladding awesome, let’s talk about getting your hands dirty with installation. You know what they say – even the best materials won’t save you if you show up empty-handed! From my experience doing DIY projects, I’ve learned the hard way that having the right toolkit makes all the difference.
 When I first tried installing WPC panels, I made the rookie mistake of using regular wood screws. Big no-no! You’ll want stainless steel fasteners that can handle outdoor conditions. Pro tip: Grab a cordless impact driver instead of your basic drill – those hidden wall studs won’t know what hit ’em!
Your shopping list should include tongue-and-groove planks (I prefer the 12mm thickness for durability), starter clips, and proper sealing strips. Don’t forget the unsung heroes like a quality level – that bubble might seem old-school, but it’s your best friend for straight lines. Oh, and safety gear! I still have the dust mask I ruined on my first project hanging in my garage as a reminder.
 For cutting, a circular saw with fine-tooth blade works wonders, though I’ve seen folks get creative with jigsaws. The folks at Plastory.com have a great guide on blade selection if you’re unsure. Remember, measure twice cut once – words to live by unless you enjoy extra trips to the hardware store!
One thing I wish I’d known earlier? The importance of expansion gaps. Those slim spacers might seem insignificant, but they’re crucial for letting the material breathe. Trust me, you don’t want your beautiful cladding warping because it got too cozy with the neighbors!
Before you start slapping those WPC panels on the wall, let’s talk prep work – the unsung hero of any good installation. I learned this the hard way when I rushed my first DIY project and ended up with crooked panels that looked like a toddler’s finger painting. Here’s what really matters:
First up, surface cleaning. This isn’t just a quick wipe-down – we’re talking industrial-grade scrubbing. Grab a stiff bristle brush and go to town on every inch. I found using PLASTORY’s specialized cleaner works wonders for stubborn stains. Don’t forget to check for hidden surprises like old adhesive residues or flaky paint chips.

Now, measuring. Here’s a pro tip: measure twice, thrice, then once more for good luck. Account for those tricky corners and window frames that’ll mess with your pattern. I keep a laser measure in my toolkit these days – total game changer compared to old tape measures.
Ever tried hanging pictures on a bumpy wall? Same principle applies here. Use a 4-foot level to check for uneven spots. If you find dips deeper than 1/8″, break out the leveling compound. Let it cure properly – impatience here leads to wobbly panels later.
Last thing – layout planning. Lay your panels out dry first. This helps visualize the pattern and catch manufacturing inconsistencies. Leave that crucial 1/4″ expansion gap around edges – your future self will thank you when seasons change. Trust me, skipping this step leads to bulging walls that look like they’ve got the mumps.
Let me walk you through the actual installation process based on my experience helping neighbors with their WPC projects. Picture it like assembling a giant puzzle where each piece needs proper alignment – but don’t worry, it’s way easier than IKEA furniture!

We always start by laying out the battens. This grid system acts like the skeleton for your cladding. Pro tip: Use stainless steel screws here because regular ones might rust over time. I learned this the hard way when my first installation developed rusty streaks after a rainy season!
When placing the starter clip, leave about 1/4″ gap from the corner. This breathing room prevents buckling when materials expand – something the folks at Plastory emphasized during my training. The first board sets the tone, so triple-check its level. If it’s off by even a little, the whole wall will look crooked.

Here’s where most DIYers mess up: over-tightening screws. You want them snug but not squeezing the boards. Think of it like buttoning a shirt – too tight and the fabric puckers. We alternate between top and bottom fasteners to distribute pressure evenly. Stagger those joints like brickwork for better stability and visual appeal.
When cutting boards, I always say ‘measure twice, cut once, then check again’. That leftover coffee can wait – precision here saves hours of rework later. For corners and edges, special trim pieces give that finished look. Don’t skip the silicone sealant! It’s like invisible armor against moisture sneaking into gaps.
Pro Tips for Smooth WPC Cladding Installation
Let me share some hard-earned wisdom from my decking projects – working with WPC cladding isn’t rocket science, but there’s definitely an art to getting it right. First things first, always check your panel alignment every 3-4 rows. I learned this the hard way when I had to redo a whole section because the grooves weren’t seating properly. Use plastic spacers (about 5-8mm) between panels – they’re like little insurance policies against expansion issues.

When cutting panels, go slow with your saw blade. These composite materials can get feisty if you rush, leaving rough edges that’ll snag your clothes later. Pro tip: Mark your cut lines with painter’s tape to prevent chipping. And here’s a golden rule I swear by – never install when temperatures swing wildly. Wait for stable weather unless you want wavy walls!
Safety-wise, don’t skip the goggles and gloves. Those plastic shavings? They love eyeballs. Keep your work area tidy – tripping over offcuts is the fastest way to meet your insurance agent. If you’re working at height, double-check those ladder stabilizers. Speaking from experience, a wobbly ladder turns simple installation into an impromptu base jump.
Got tricky corners? Cut panels at 45-degree angles for cleaner joints. And here’s a neat trick I picked up from pro installers – rub paraffin wax along the tongue-and-groove edges. It makes panels slide together like buttered toast. Just remember – measure twice, cut once, and always keep your coffee cup away from the work area!
You know that satisfying moment when you step back to admire freshly installed cladding? Let me share how I keep that WPC magic looking brand new. First things first – those finishing touches make all the difference. I always use color-matched trim pieces to hide any exposed edges, kinda like putting the perfect frame on a painting. Found this awesome rubber mallet that helps snug the panels without damaging the surface – total game changer!

Now here’s where most folks slip up – maintenance. My neighbor learned the hard way that pressure washers are a no-go! Stick to simple soapy water (I use dish soap diluted 1:10) and a soft brush. Twice a year, I do the “finger test” – running my hand along the panels to catch any loose bits before they become problems. Pro tip: Mark your calendar for seasonal checkups – spring pollen and fall leaves need different cleaning approaches.
Oh, and don’t panic if you see slight fading! That’s just the material settling in. I freaked out when my espresso-colored cladding lightened a shade, but guess what? It evened out beautifully in 3 months. For stubborn stains, baking soda paste works wonders – just don’t scrub like you’re cleaning oven grates! Gentle circular motions do the trick.
Last thing – keep those expansion gaps clear! I made the rookie mistake of caulking them shut, only to watch the panels buckle come summer. Now I use discreet mesh strips that keep debris out while allowing natural movement. Remember, WPC’s low-maintenance – not no-maintenance. Treat it right, and it’ll keep your home looking sharp for decades!